Fashion editor and digital strategist Madison Russell walks us through the ups and downs of her home reno and shares how Caraway was the cherry on top of her minimalist abode.
When I started a full cosmetic refresh of my Manhattan (junior) one-bedroom apartment in December of 2019, I had no idea that the world would be in lockdown the following months. And, boy, am I glad that I started when I did.
After months of finding inspiration, careful (but, honestly, not that careful) planning, and sourcing the finishes that would make my heart sing, I set out to overhaul an apartment that was feeling downright drab.
A daunting undertaking—but an ultimately satisfying one—renovating a small apartment is no simple task. I learned so many things along the way that I hope help or inspire you to finally ditch those dull, gray kitchen tiles that have bothered you since the very first open house. There are a lot of moving parts to consider, but being intentional with your space is the greatest investment.
I’m going to talk you through the things I learned when doing a cosmetic renovation in my small Manhattan apartment, the things I would one hundred percent do differently next time, and how my Cream Set of Caraway pots and pans have become the ultimate symbol of how quality products and use of space improve your life tenfold.
Get specific with your inspiration.
If you’re the kind of person that I think you are—one that prizes design and functionality equally and admires looking at pretty things—I would bet money that you have a few Pinterest boards of home decor that you’ve been ogling. Instead of searching in a haphazard fashion, get very specific about the project you’re going to start and exactly what you want it to look like.
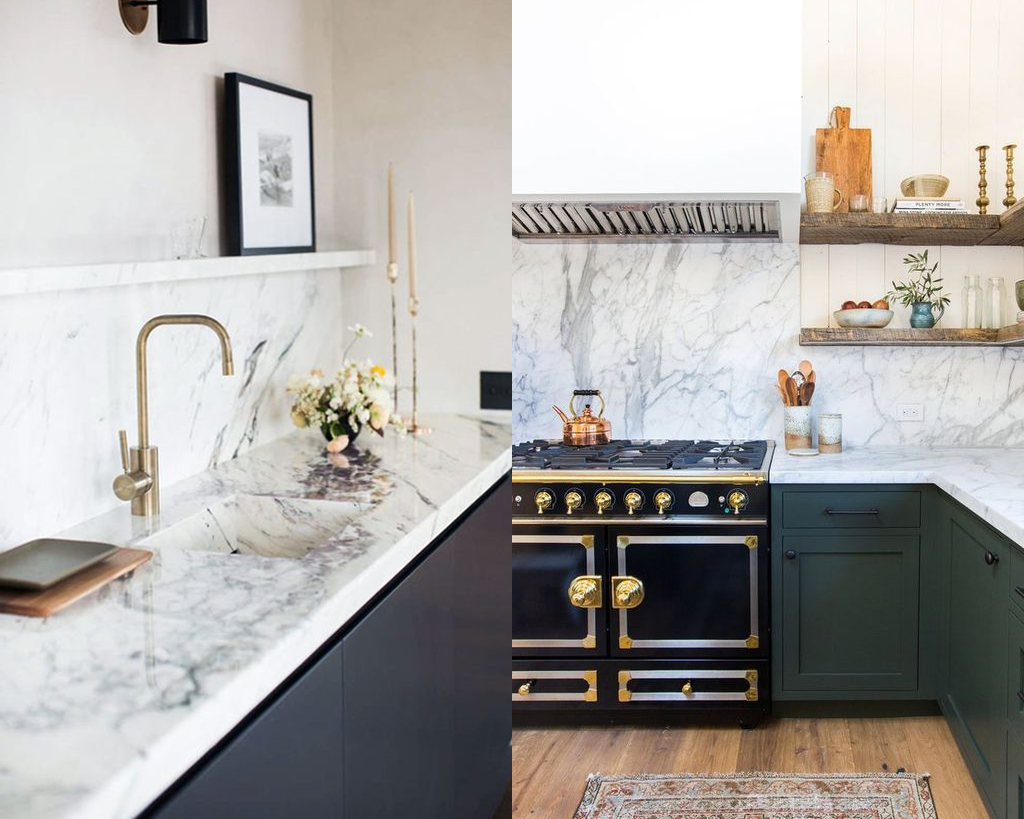
Inspiration for Madison's Kitchen (Photo Credit: Mr. Kitchen)
I began to realize that I was gravitating toward seamless backsplashes that melded into coordinating countertops, cut from the same stone slab. The minimal appeal of a single material (and did I mention the ease of cleaning?) felt more in line with the unfussy nature of the kitchen I wanted to spend time in. The previous owner had chosen a dark butcher block countertop paired with a shiny glass gray subway tile. Both acceptable finishes, but nowhere near as elevated and showstopping as I would’ve liked.
After finding very specific inspiration images that truly captured what I wanted our tiny kitchen to say, I began evaluating which projects would be essential to capture that essence. The biggest ticket item? A seamless countertop and backsplash made of quartzite.
Find great contractors.
Sometimes, you have to leave things to professionals. When cutting and lugging heavy (and I mean very heavy) stone up three flights of stairs and installing it into a tiny kitchen, please seek professional help. I was able to find a stoneworker on Thumbtack—a great Yelp-like app for this type of service—who offered a very reasonable all-in rate that included demo and removal of our old counter and install of the new.
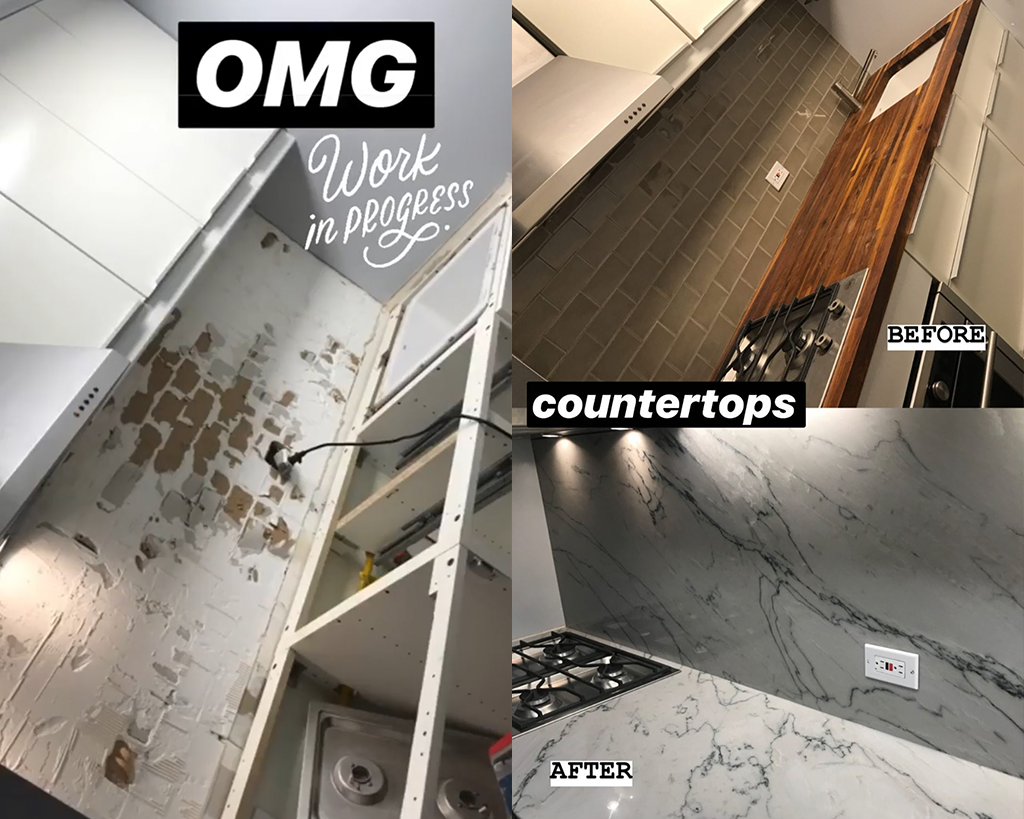
Progress Images from Madison's Kitchen (Photo Credit: Madison Russell)
Update instead of demolish.
Once our countertops were light and bright and shiny and new, we realized that black cabinets would complete the total package. The juxtaposition of matte black drawer fronts with the veined stone was the exact vibe we were going for. Instead of ditching the entire cabinet boxes, we were able to swap just the fronts out with Semi Handmade, a great company that makes beautiful, high-end cabinet fronts for Ikea cabinet bases. Huzzah! For a fraction of what an entirely new kitchen would’ve cost, we were able to replace the cabinet doors and hardware for an entirely updated look.
Open it up.
By painting the walls a bright white—ours is Fresh Kicks by Clare Paint—and replacing our upper cabinets with walnut floating shelves from Semihandmade, we were able to really open up the space, making it both look and feel bigger. In a Manhattan apartment, both of these things are paramount. How can you add a sense of space to your place? Perhaps white paint? Open shelving versus closed? Strategically placed mirrors to bounce light? Shiny surfaces that give a sense of lift? Add this element into any renovation for a lovely touch of glimmer.
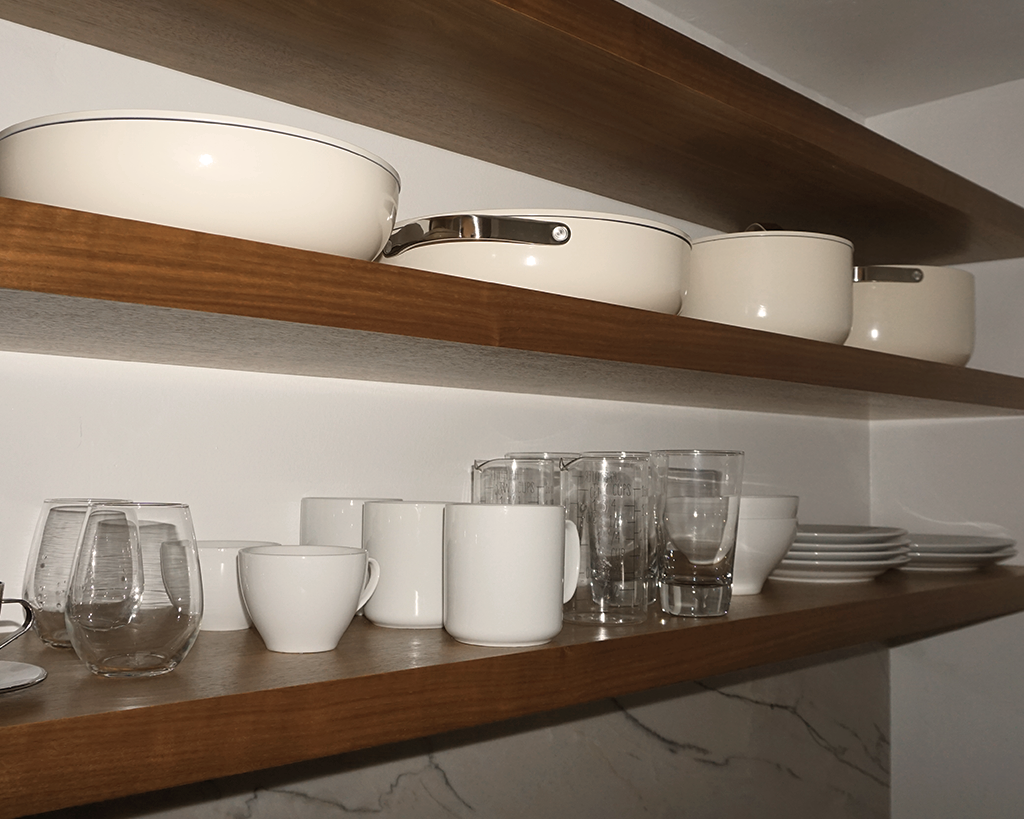
(Photo Credit: Madison Russell)
Pare down your stuff.
You might notice that we don’t have a lot of stuff. And I can tell you that not a single day has ever gone by where I wish I had eight more plates. I’ve never even wished for one more. When you pare down your stuff, your life becomes simpler. You have to make fewer decisions in a day. Your shelves remain neat and tidy. Usually, the solution with clutter isn’t fancy storage options but simply eliminating some of your things. (I’m looking at those old college mugs and mismatched cereal bowls…) Keep only the items that you use every week and display them with pride.
Get the things you need.
Why did I put off investing in quality pots and pans for so long? Why did I own twelve knives but no proper fry pan? Acquire the things you need thoughtfully in a way that compliments your decor and doesn’t compete with it. A beautiful vase can hold wooden stirring spoons, linen tea towels can add a pop of color (and can be changed if and when you tire of them), or ceramic cookware can add authority to your space.
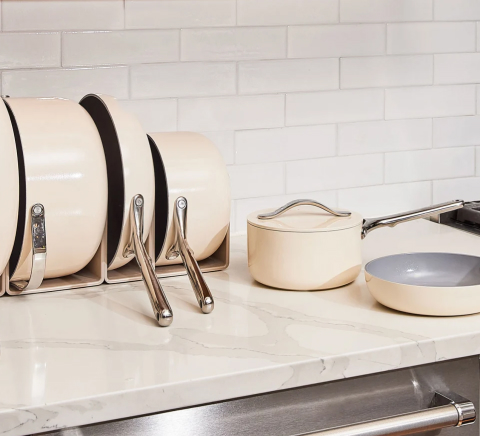
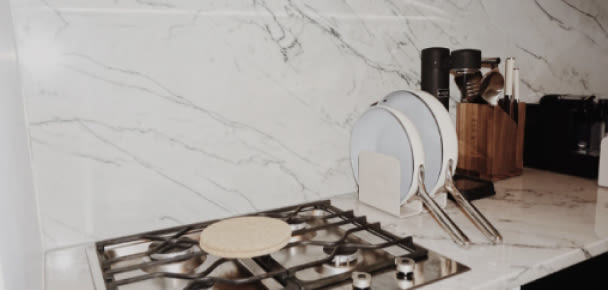
I always have a penchant for neutrals and I knew the Cream Set would both blend into my kitchen design, as well as stand out in a subtle way. I wanted the pots and pans to feel almost like built-ins—like an intentional choice with the overall feel of the room. Now, cooking up a quick meal is a true delight because my Caraway is easily within reach and on display.
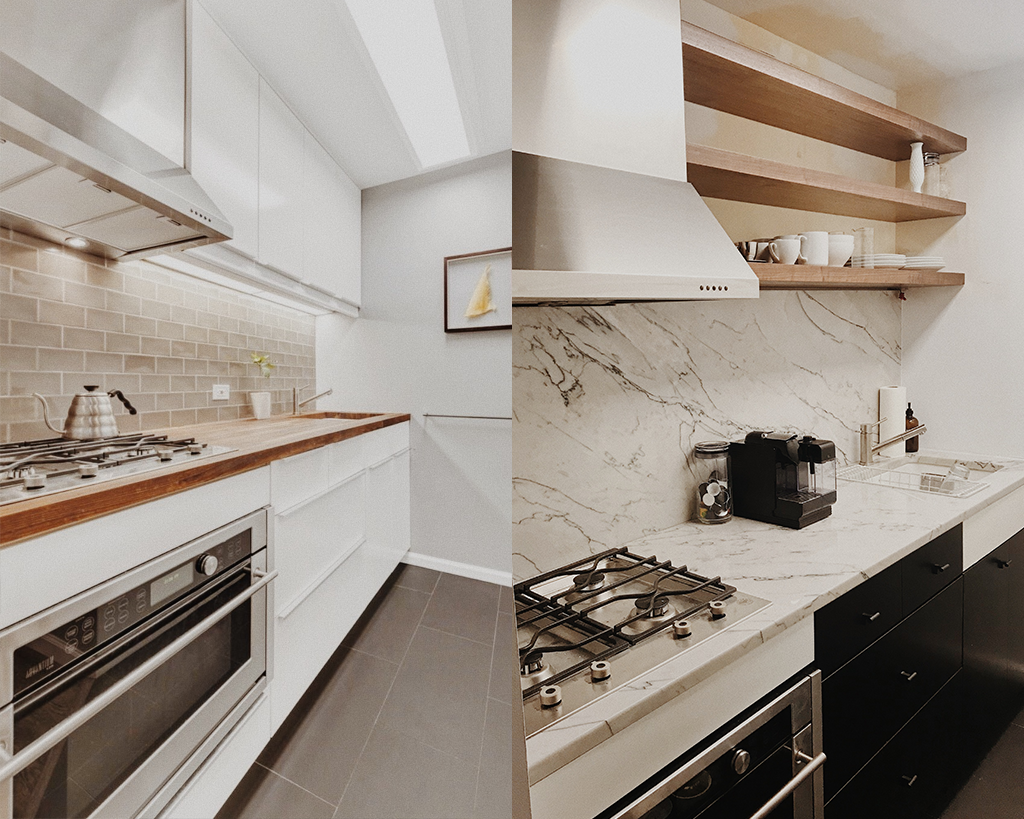
Before & After of Madison's New York City Kitchen (Photo Credit: Madison Russell)
Go with your gut.
If I had to do this project again (which I would have a tough time doing because renovations in a small apartment really are no fun), I would stick with my guns. I knew in my heart of hearts from the beginning what I wanted every square inch of that space to look—and most importantly feel—like. I would’ve been more clear with each contractor—not being shy about telling them exactly what I wanted and what I expected. I would’ve stretched the timeline—because these things always take a month longer than you think they will. And I would’ve started a month earlier—because the best time to do a renovation is last year.
